Getting Started
This guide covers everything you need to know to start using Qrema -- from creating your account to completing your first roast cycle.
Creating Your Account
Navigate to the Qrema registration page to create a new account.
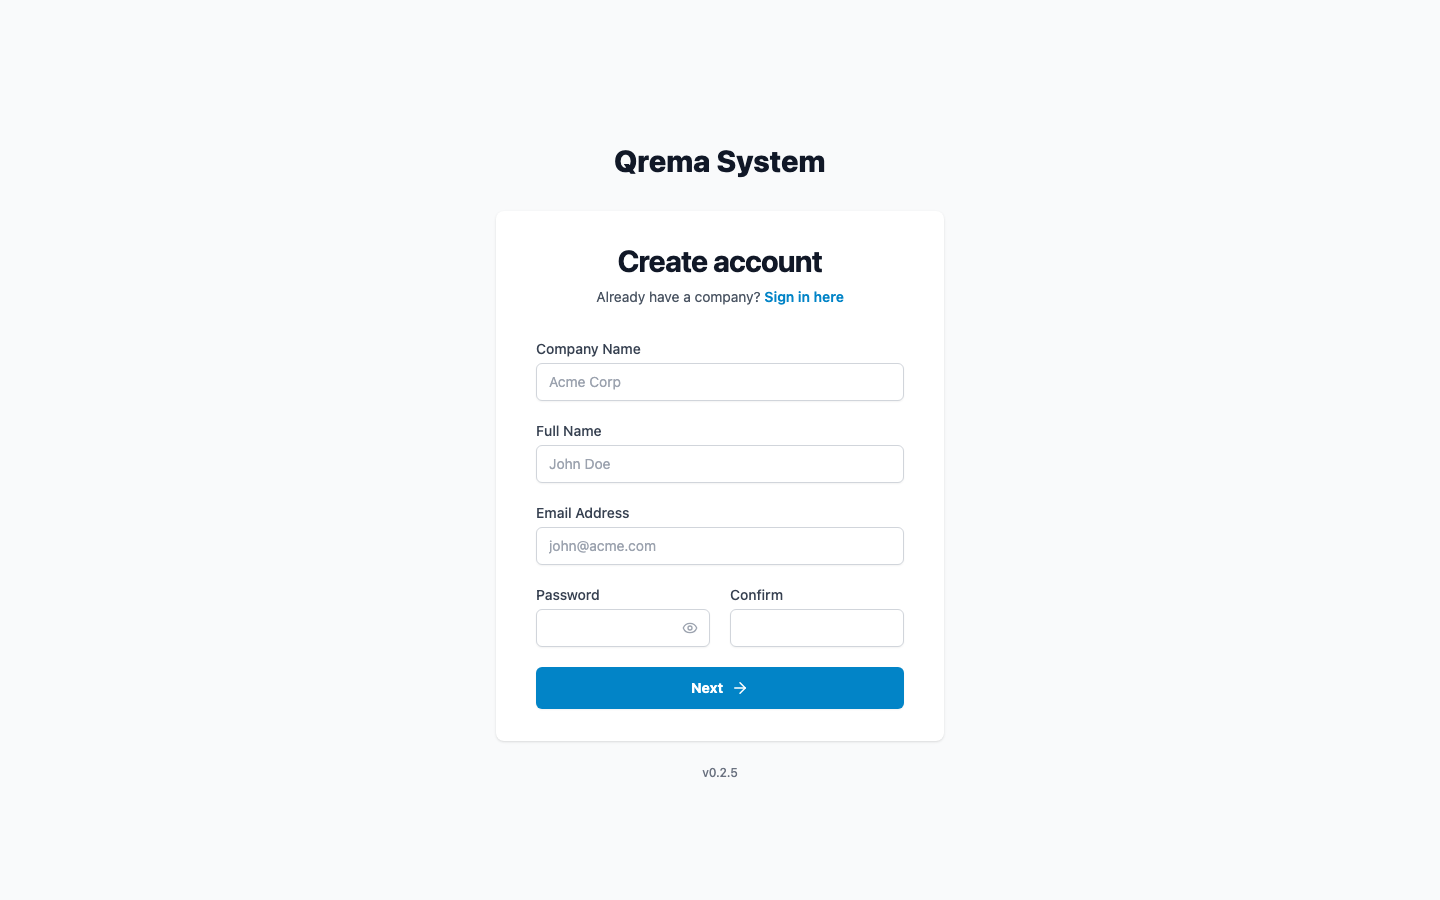
Fill in the following fields:
- Email Address -- Your work email (used for login and notifications)
- Password -- Minimum 8 characters
- Company Name -- Your roastery's name
After submitting, you'll receive an OTP verification code via email.

Enter the 6-digit code to verify your email and activate your account.
Tip: Check your spam folder if you don't receive the OTP within a few minutes.
First Login
After verification, log in with your email and password at the login page.
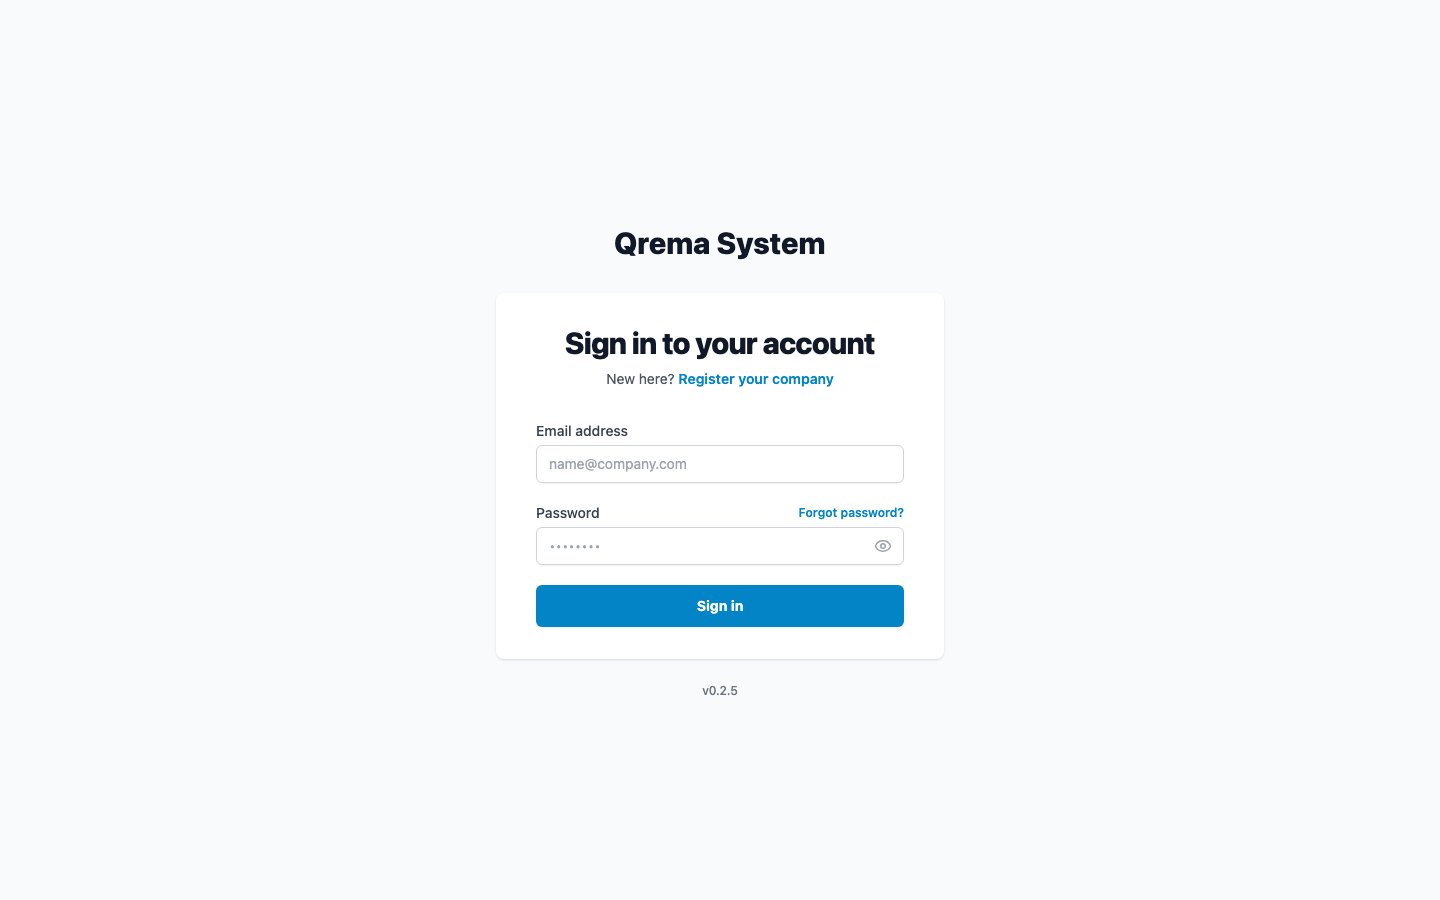
You'll land on the Dashboard -- your operational overview.
Setting Up Your Workspace
Before you start processing orders, set up your workspace in this recommended order:
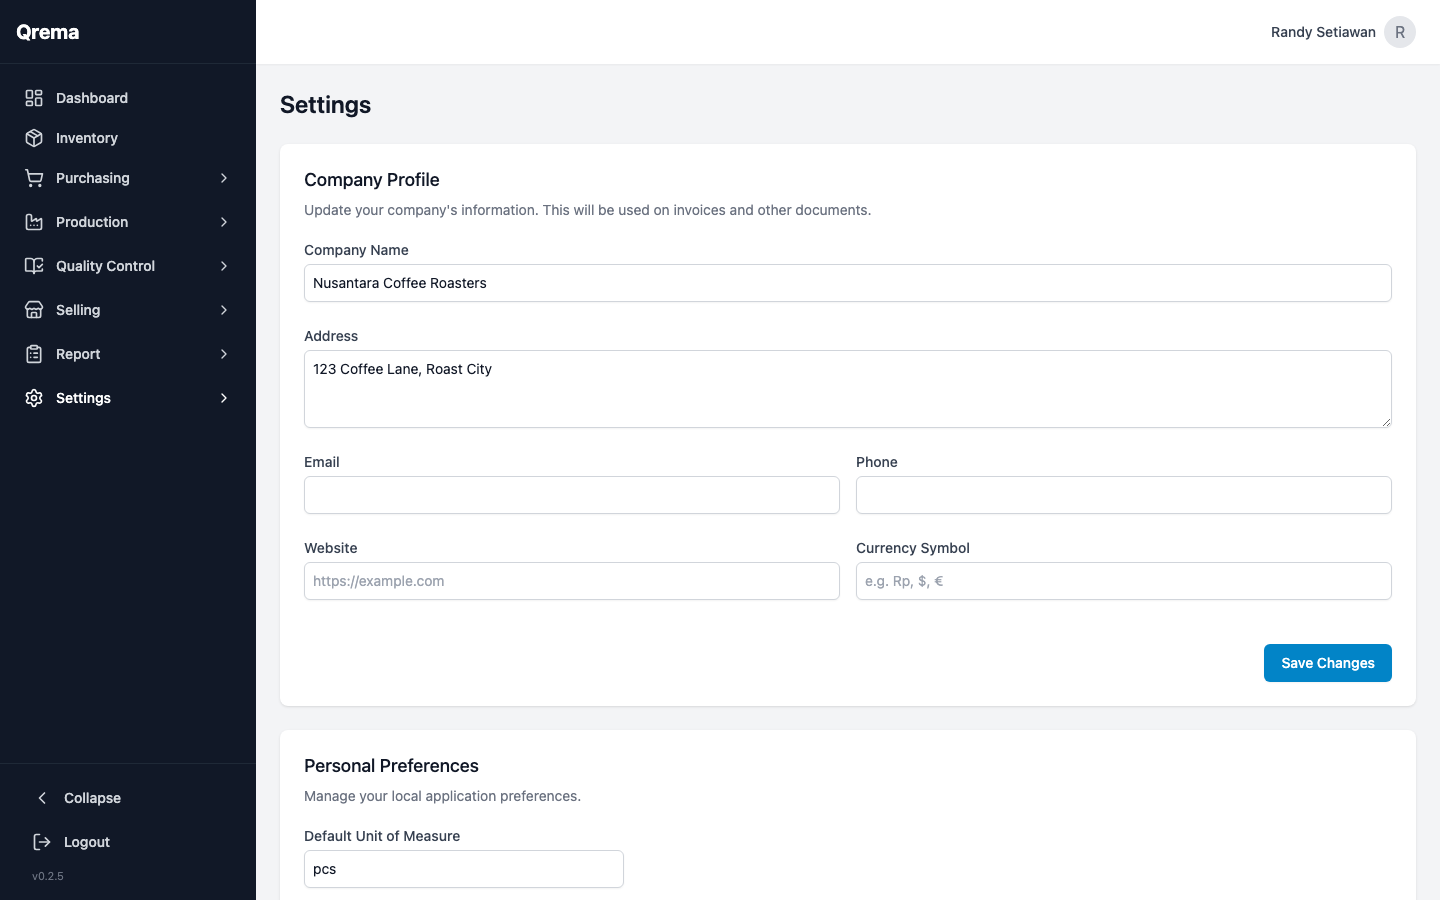
Step 1: General Settings
Go to Settings > General to configure:
- Company name and details
- Default currency
- Timezone
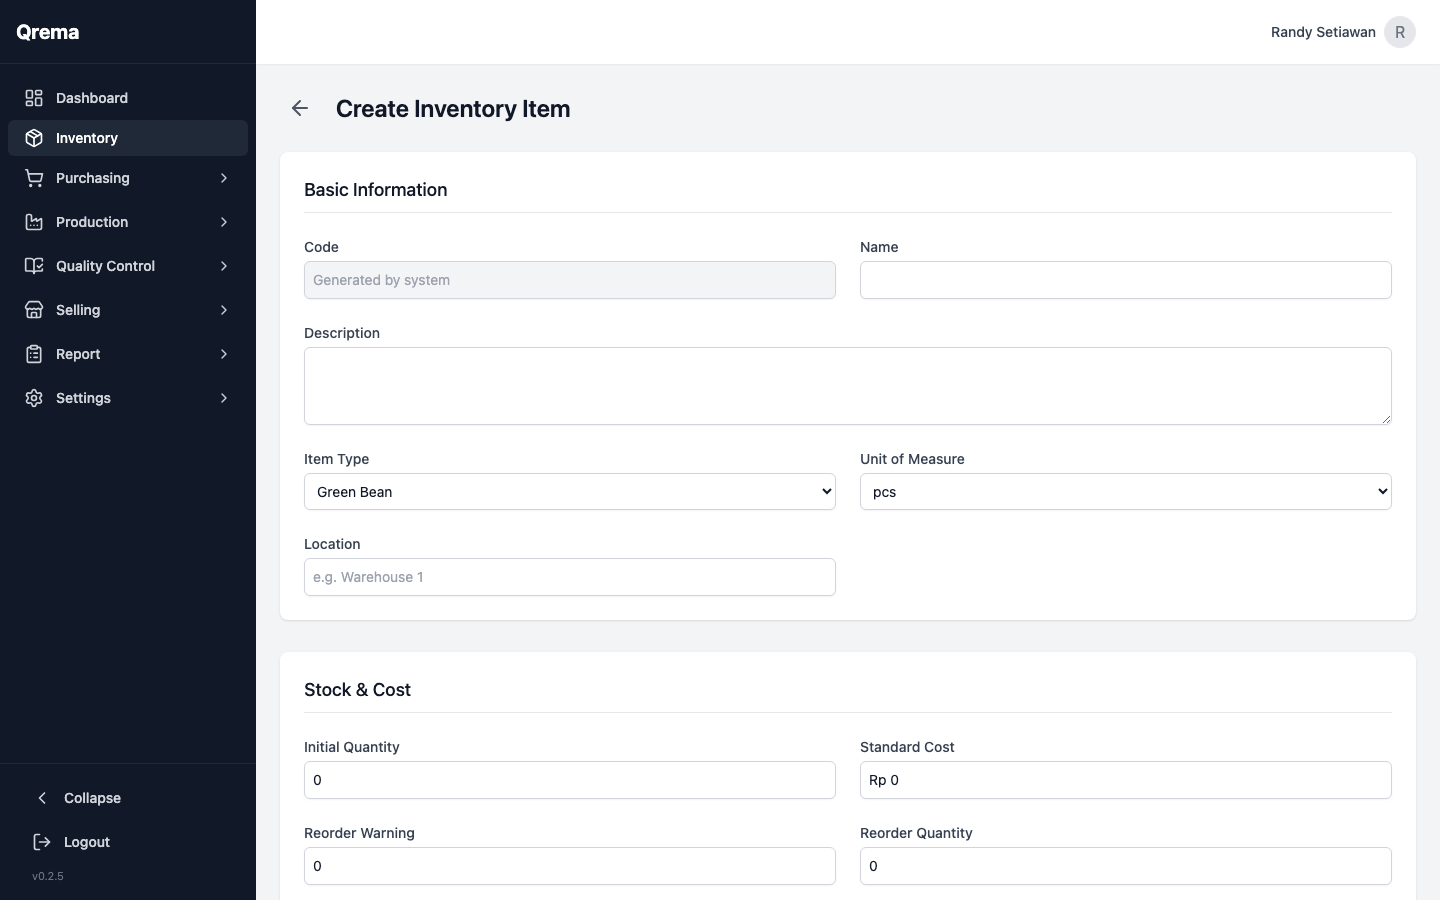
Step 2: Add Inventory Items
Go to Inventory > Create to add your items:
- Green beans -- Your raw coffee beans (by origin, variety, process)
- Roasted coffee -- Your finished products
- Packaging -- Bags, labels, boxes
- Supplies -- Filters, cleaning supplies, etc.
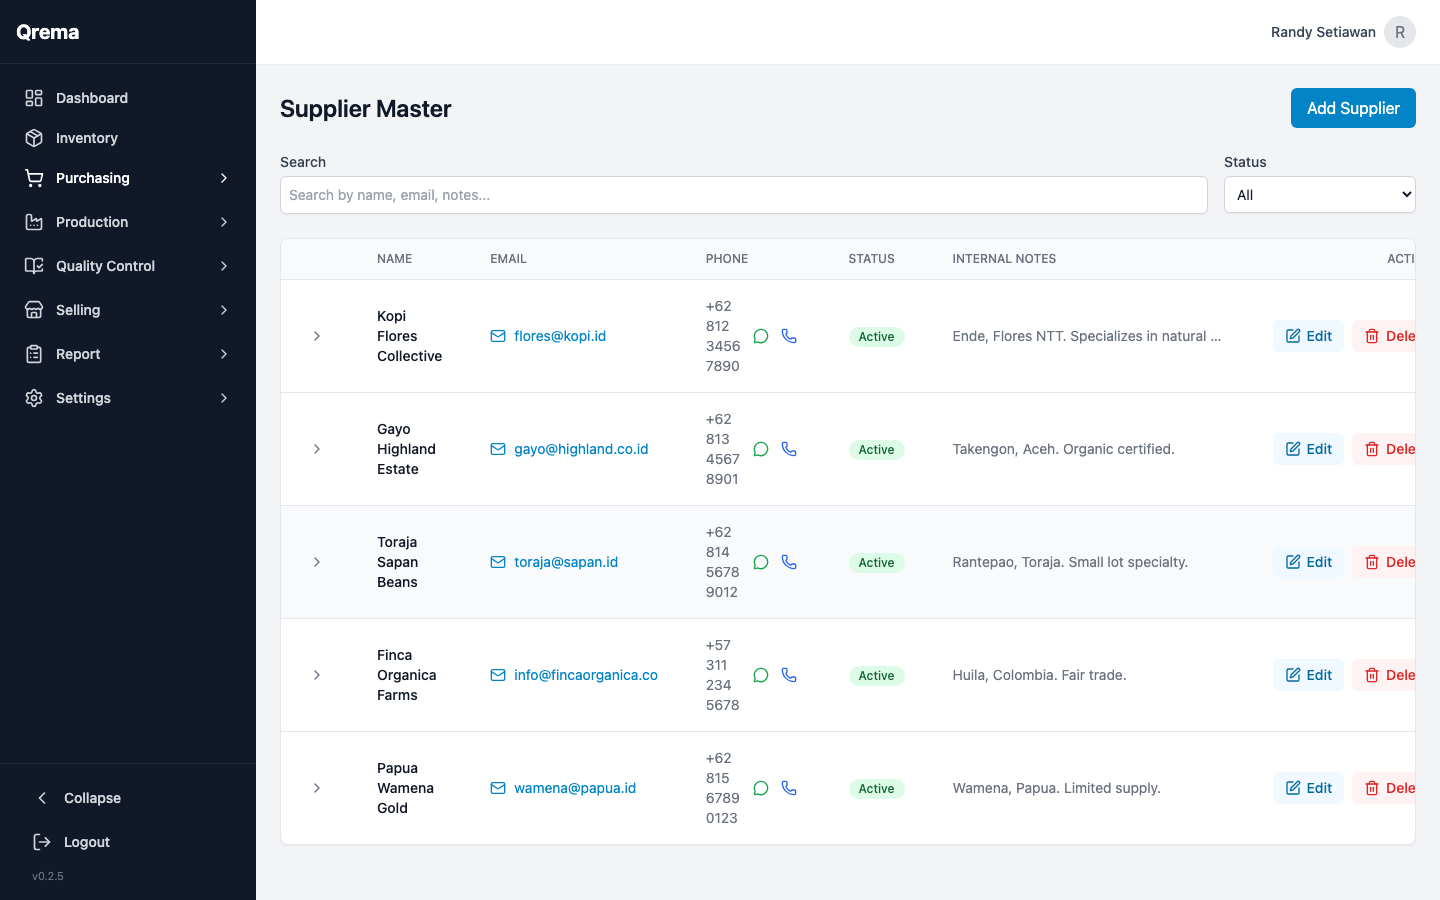
Step 3: Set Up Suppliers
Go to Purchasing > Supplier Master to add your green bean suppliers:
- Supplier name and contact info
- Origin/region details
- Payment terms
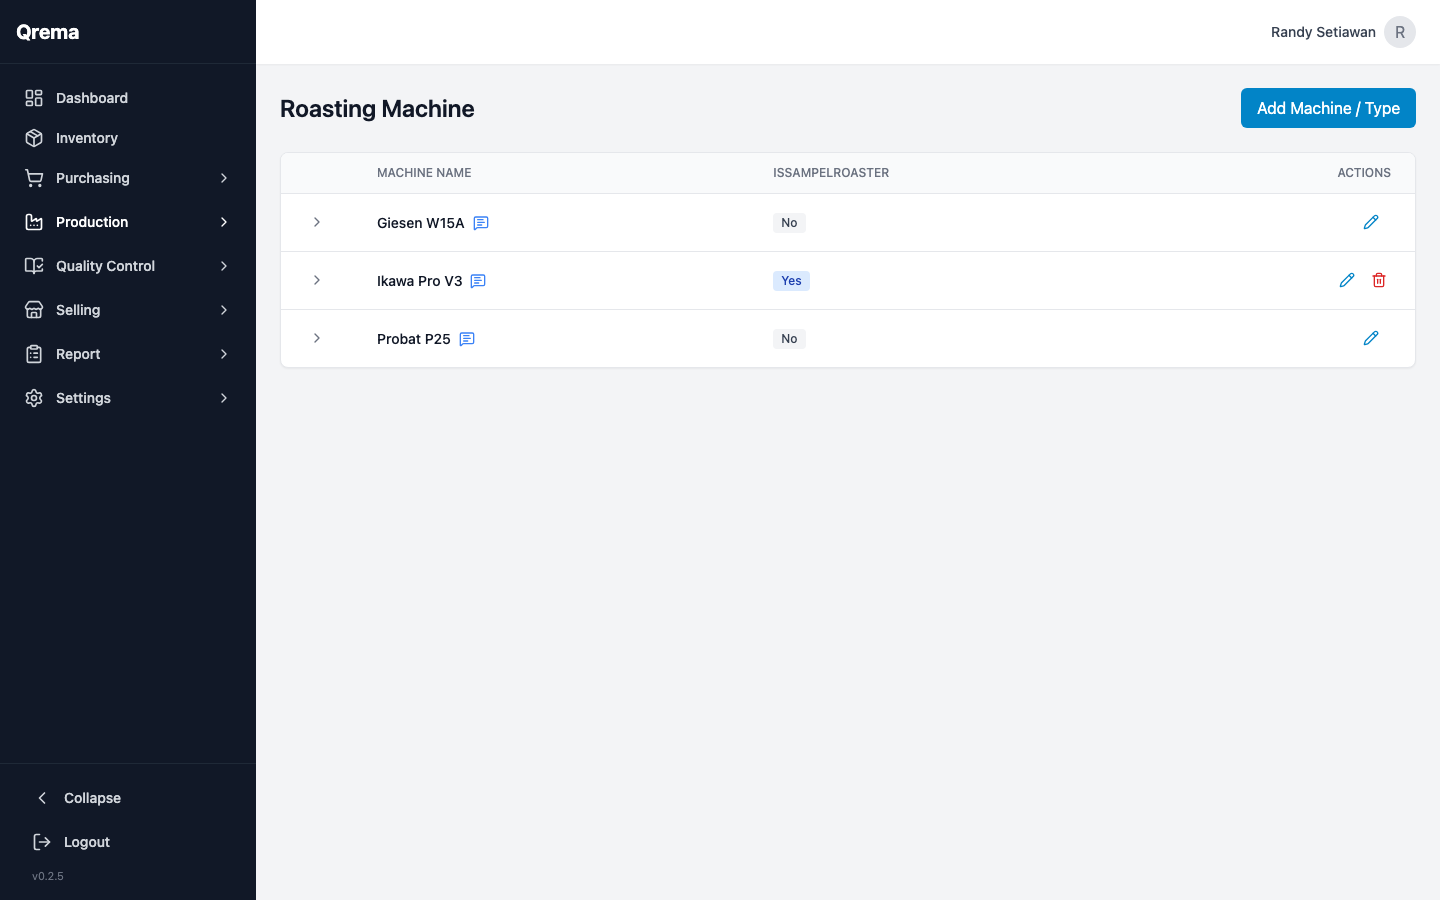
Step 4: Configure Production
Go to Production to set up your roasting infrastructure:
- Roasting Machine -- Add your roasters (name, capacity, type)
- Roast Master -- Add your roaster operators
- Master Profile -- Create roast profiles (time/temperature curves)
Step 5: Add Customers
Go to Selling > Customer Master to add your buyers:
- Customer name and contact
- Shipping address
- Payment terms
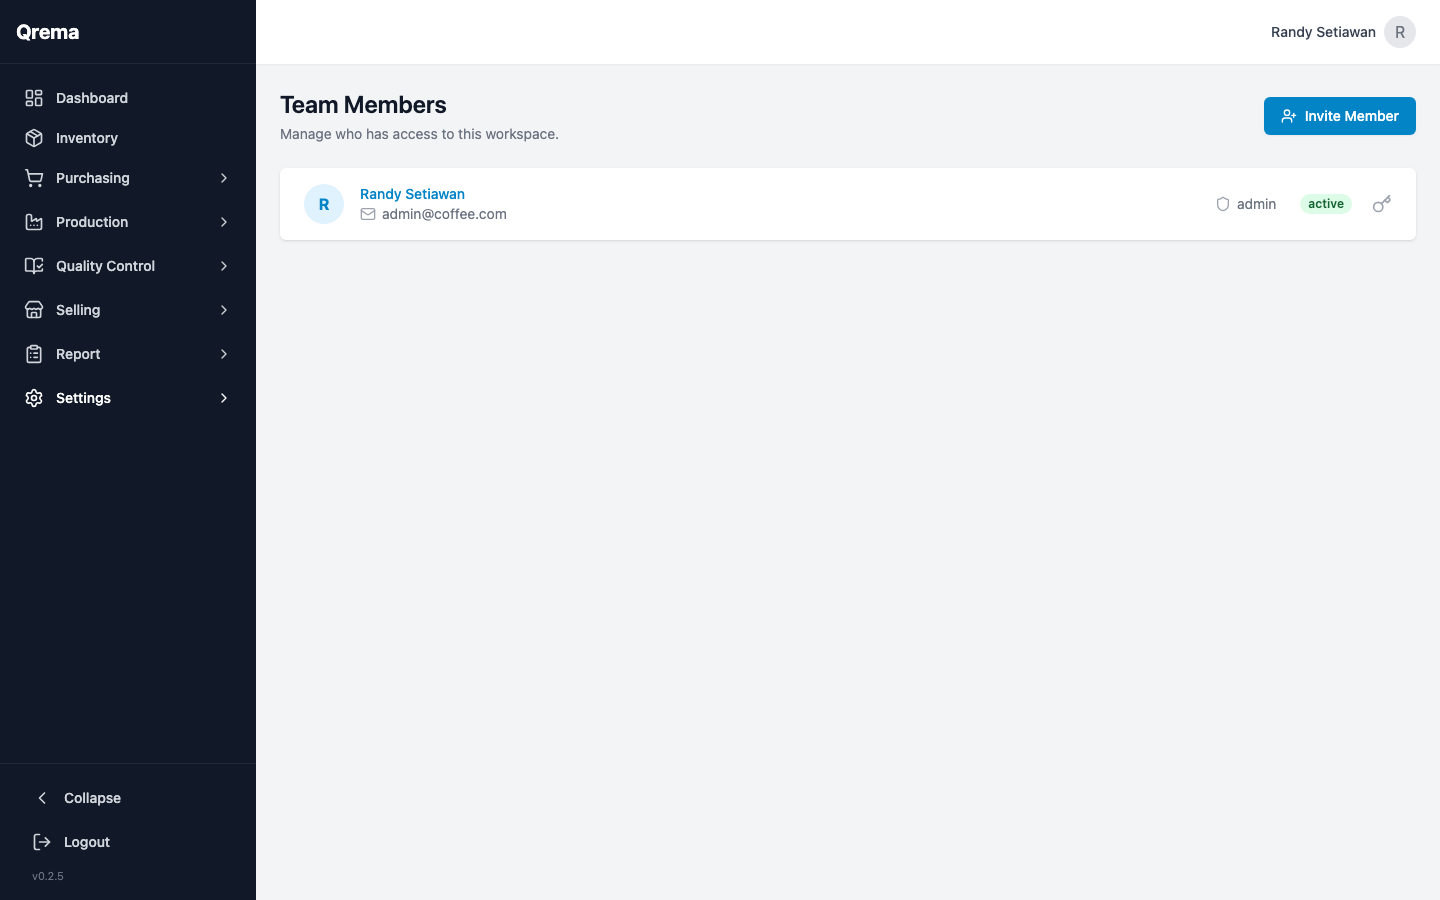
Step 6: Invite Team Members
Go to Settings > Member to invite your team:
- Enter their email address
- Assign appropriate roles
Your First Roast Cycle
Here's the complete flow from purchasing green beans to delivering roasted coffee:
1. Create a Purchase Order
Go to Purchasing > Purchase Order > Create to order green beans from a supplier.
2. Receive and Track the Lot
When beans arrive, they appear in Purchasing > Lot List. Each lot tracks origin, quantity, and cost.
3. Create a Work Order
Go to Production > Work Order > Create to schedule a roasting batch. Select:
- The green bean lot to roast
- The roast profile (master profile) to follow
- The roasting machine and operator
4. Roast and Record
Execute the roast. If using Artisan software, sync the roast data via Artisan Sync. Record the output weight and any notes.
5. Cupping Session
Go to Quality Control > Cupping Session to evaluate the roasted batch. Score attributes like aroma, flavor, acidity, body, and aftertaste.
6. Create a Sales Order
Go to Selling > Sales Order to create an order for a customer. Select the roasted coffee items and quantities.
Congratulations! You've completed your first full cycle in Qrema. Each module guide below goes into much more detail on every feature.
Keyboard Shortcuts & Tips
- Sidebar collapse -- Click the collapse button at the bottom of the sidebar to gain more screen space
- Search -- Use the search bars on list pages to quickly find items, orders, and records
- Date pickers -- Click the calendar icon or the date field to open the date picker
Video Walkthrough
Getting started -- from registration to your first roast cycle
Getting Help
- Check the FAQ for common questions
- Contact your administrator for account or permission issues
- Report bugs or request features through your team lead