Settings
Configure your Qrema workspace -- company details, team members, and subscription billing.
General Settings
The General tab contains your workspace configuration.
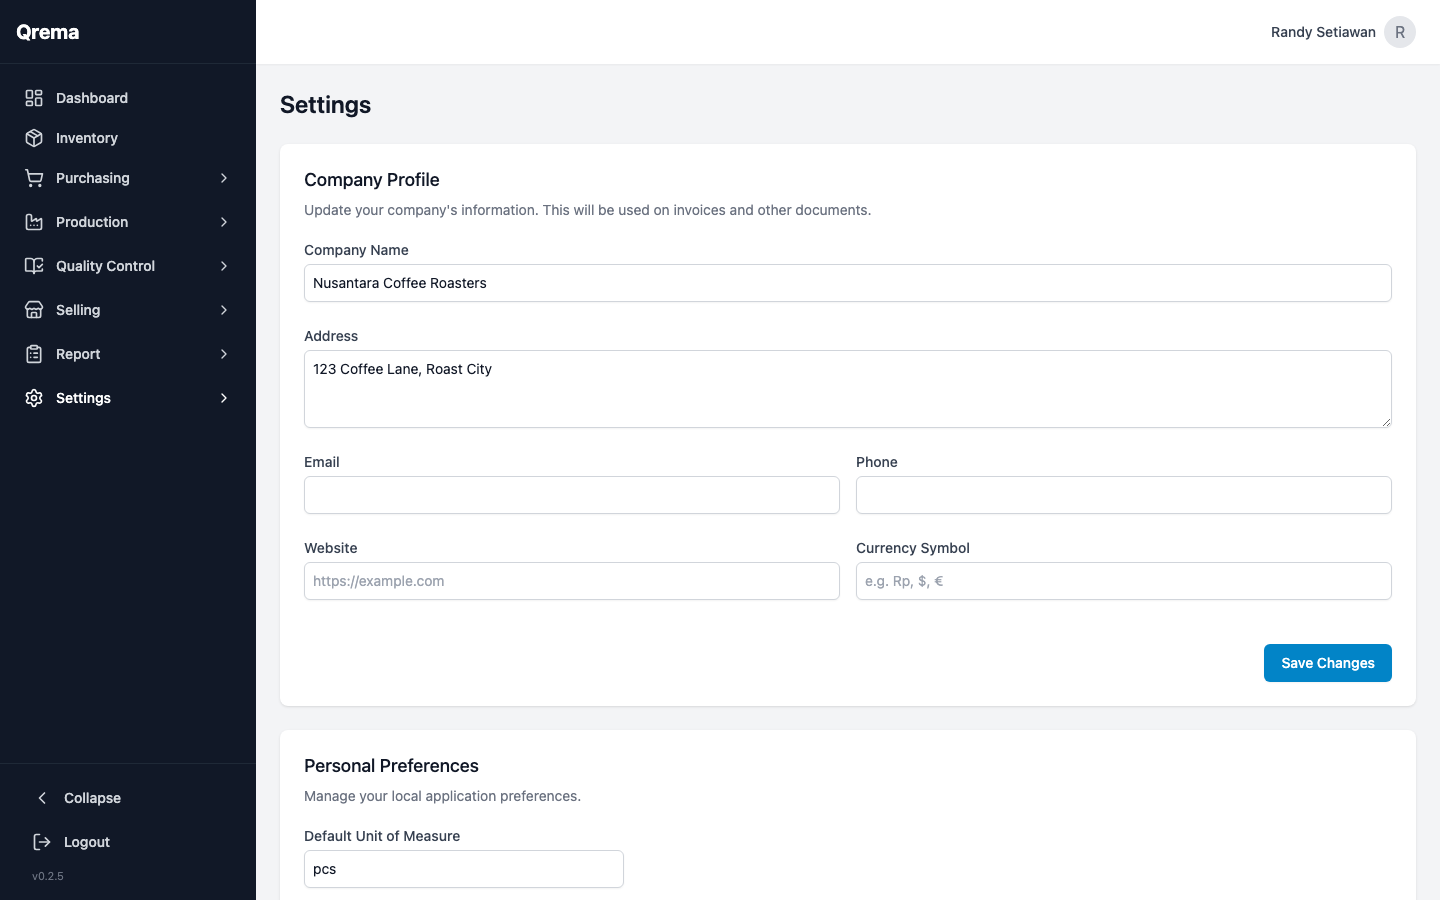
Configuration Options
| Setting | Description |
|---|---|
| Company Name | Your roastery's name (appears on reports and documents) |
| Currency | Default currency for all financial calculations |
| Timezone | Your operational timezone |
| Language | Interface language preference |
| Dark Mode | Toggle between light and dark themes. Your preference syncs across all devices. |
Member Management
Manage your team -- invite new members, assign roles, and control access.
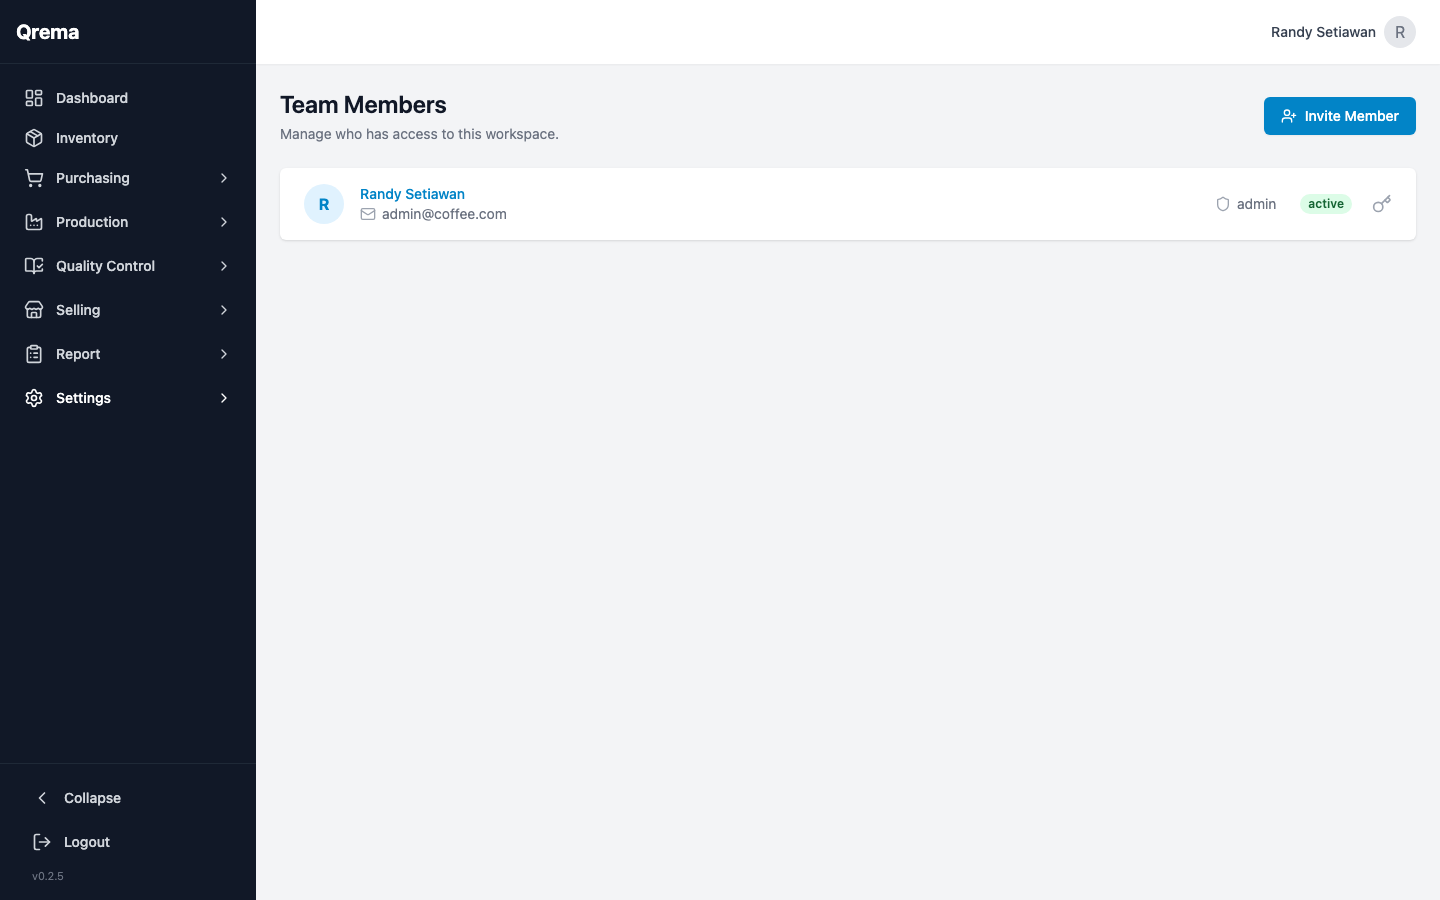
Inviting a Team Member
- Click "+ Invite Member"
- Enter their email address
- Select their role
- Click "Send Invite"
The invited member receives an email with a link to create their account and join your workspace.
Roles & Permissions
| Role | Access Level |
|---|---|
| Admin | Full access to all modules and settings. Can invite/remove members. |
| Manager | Access to all operational modules. Cannot modify settings or billing. |
| Operator | Access to production, inventory, and quality control modules. |
| Viewer | Read-only access to all modules. Cannot create or modify records. |
Important: Only Admin users can invite new members, modify roles, or access billing settings. Ensure at least two admins exist to prevent lockout.
Admin Member Management
Super Admin Only: This section is only visible to users with the Super Admin role.
The Admin Member page allows super admins to manage all workspace members across the platform, including assigning and revoking admin privileges.
Dark Mode
Qrema supports cross-device dark mode. Your theme preference is stored on the server and syncs automatically across all your devices and browsers.
- Toggle dark mode from the Settings > General page or via the theme toggle in the interface
- The system can also follow your OS preference (light/dark) automatically

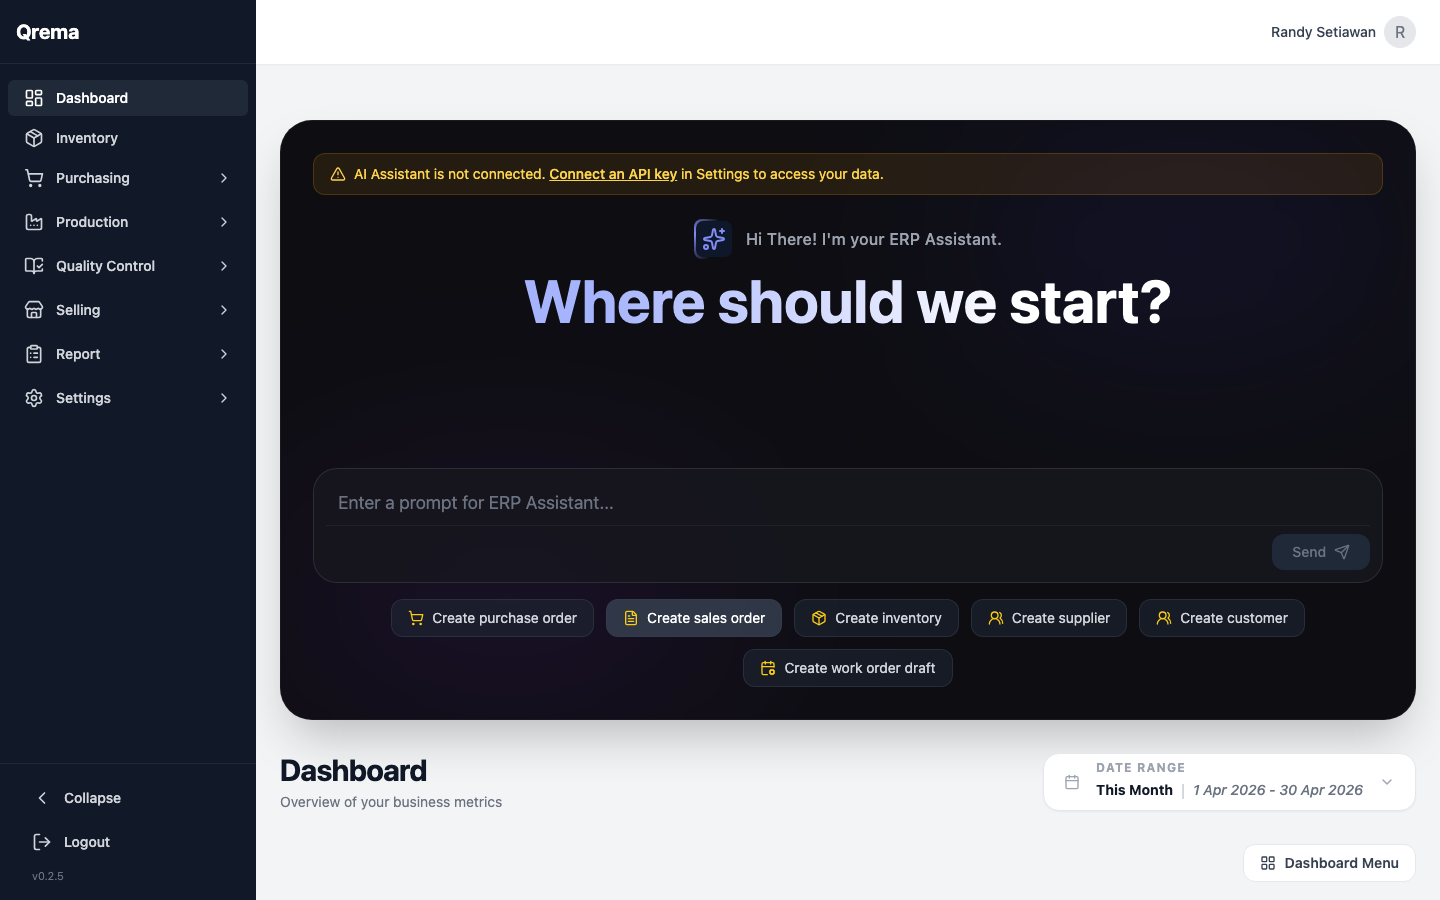
MCP Integrations & AI Assistant
Manage API keys that connect the AI Assistant on your Dashboard to your account data.
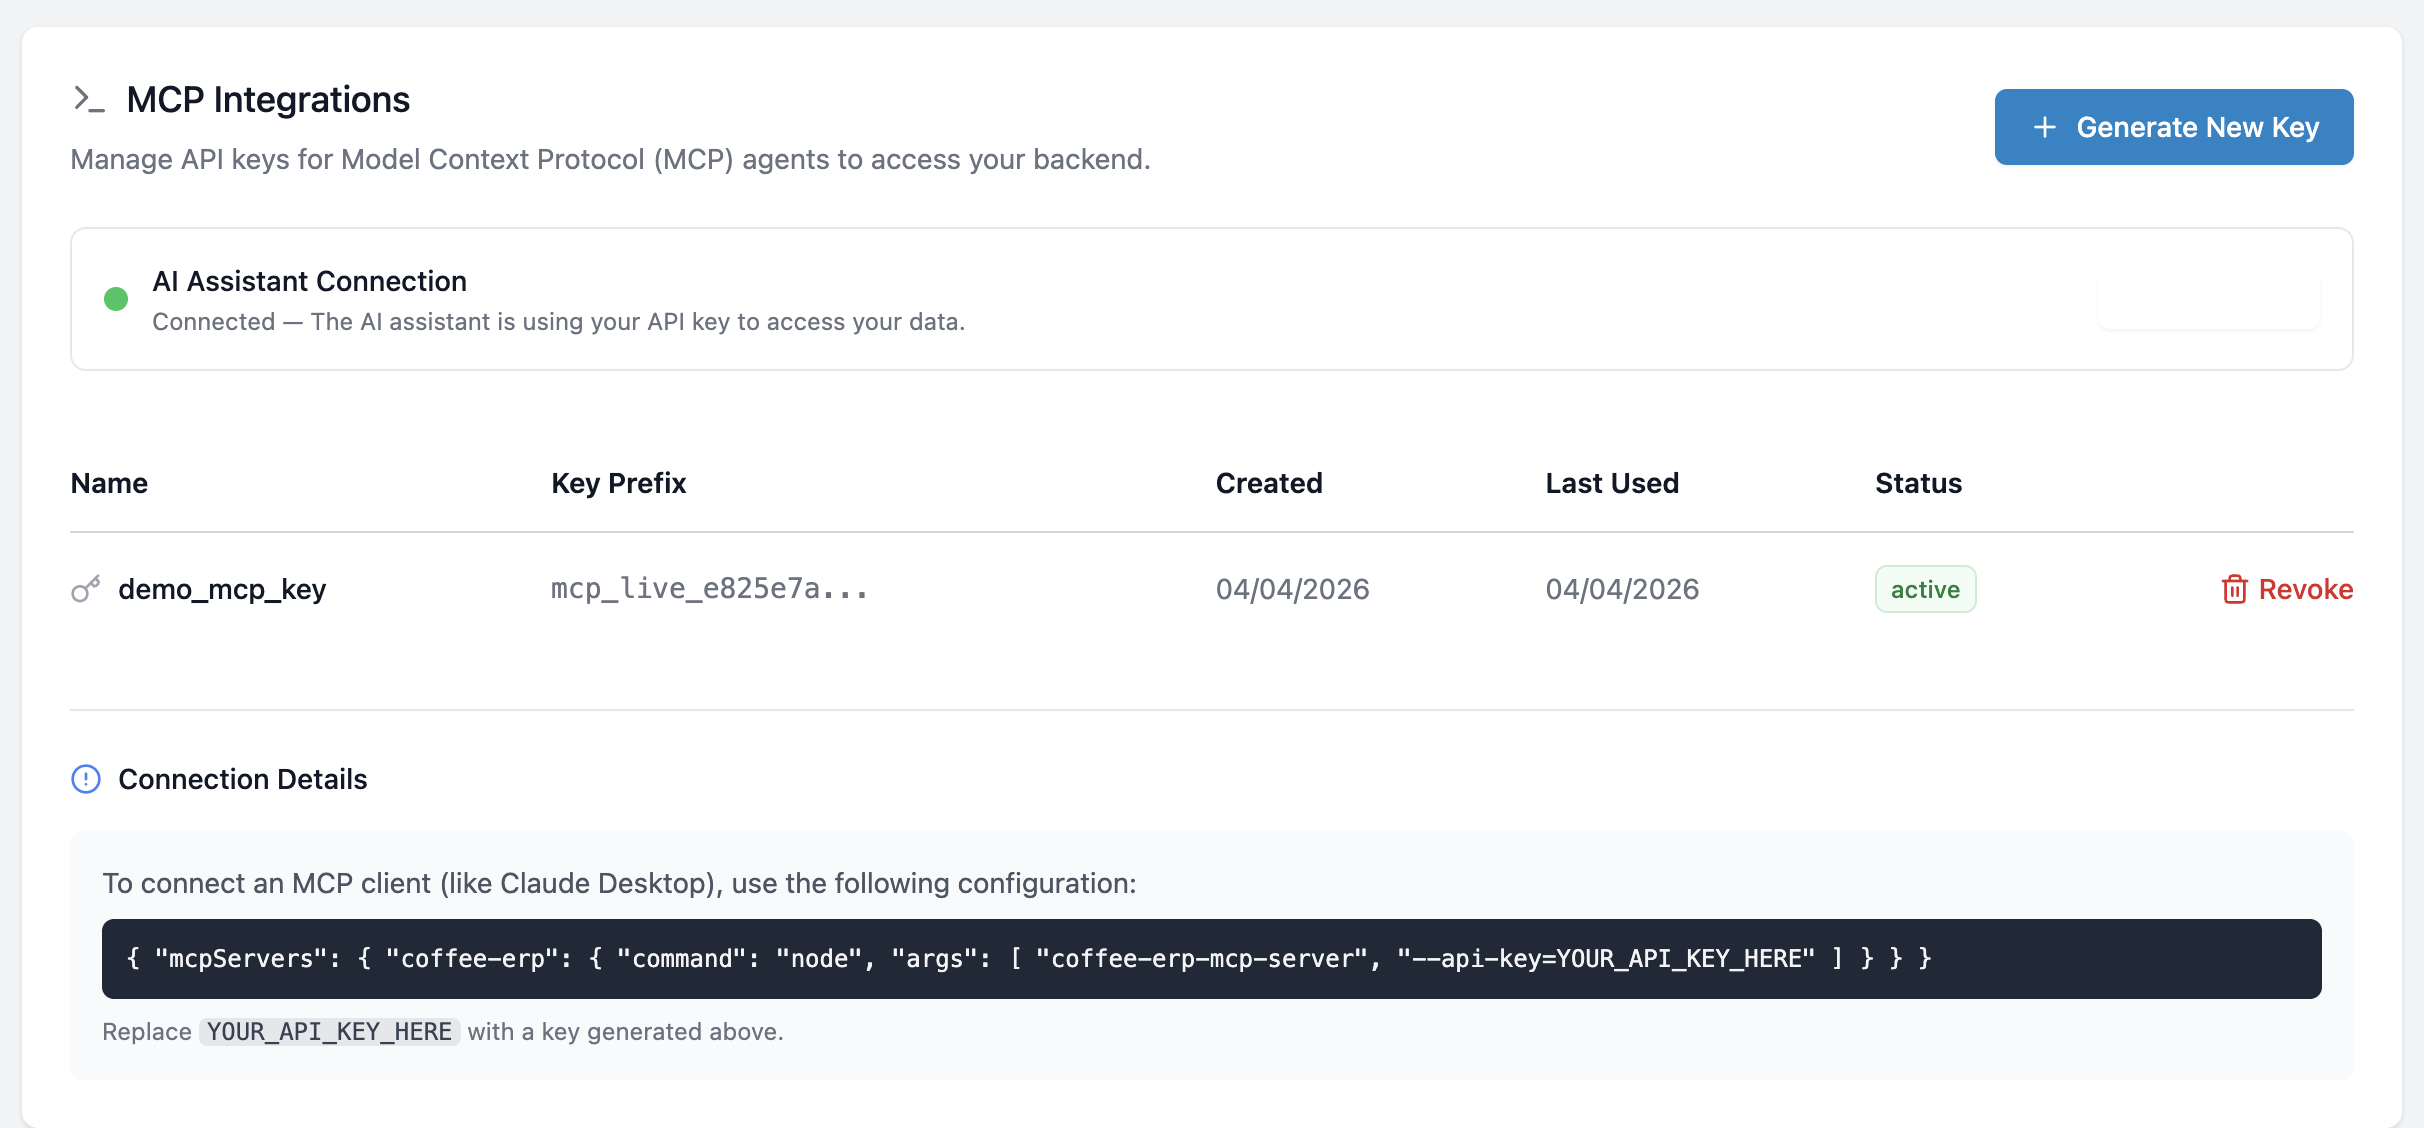
Setting Up the AI Assistant
- Click "Generate New Key" and give it a name (e.g.
Dashboard AI) - Copy the key immediately — it is shown only once
- Click "Connect to AI Assistant" — the status indicator turns green
- Return to the Dashboard to start using the AI
Connection Status
The status panel shows whether the AI Assistant is active in your current browser session.
| Status | Meaning |
|---|---|
| 🟢 Connected | AI Assistant is active and using your key |
| ⚪ Disconnected | No key linked — click "Connect Key" to paste an existing one |
Managing Keys
| Action | How |
|---|---|
| Revoke a key | Click "Revoke" next to the key. This permanently disables it. |
| Reconnect | Generate a new key and click "Connect to AI Assistant" |
Revoking a key immediately disconnects the AI Assistant. Generate a replacement before revoking.
For the full guide on what the AI Assistant can do, see AI Assistant.
Billing & Usage
View your subscription plan, usage metrics, and billing history.
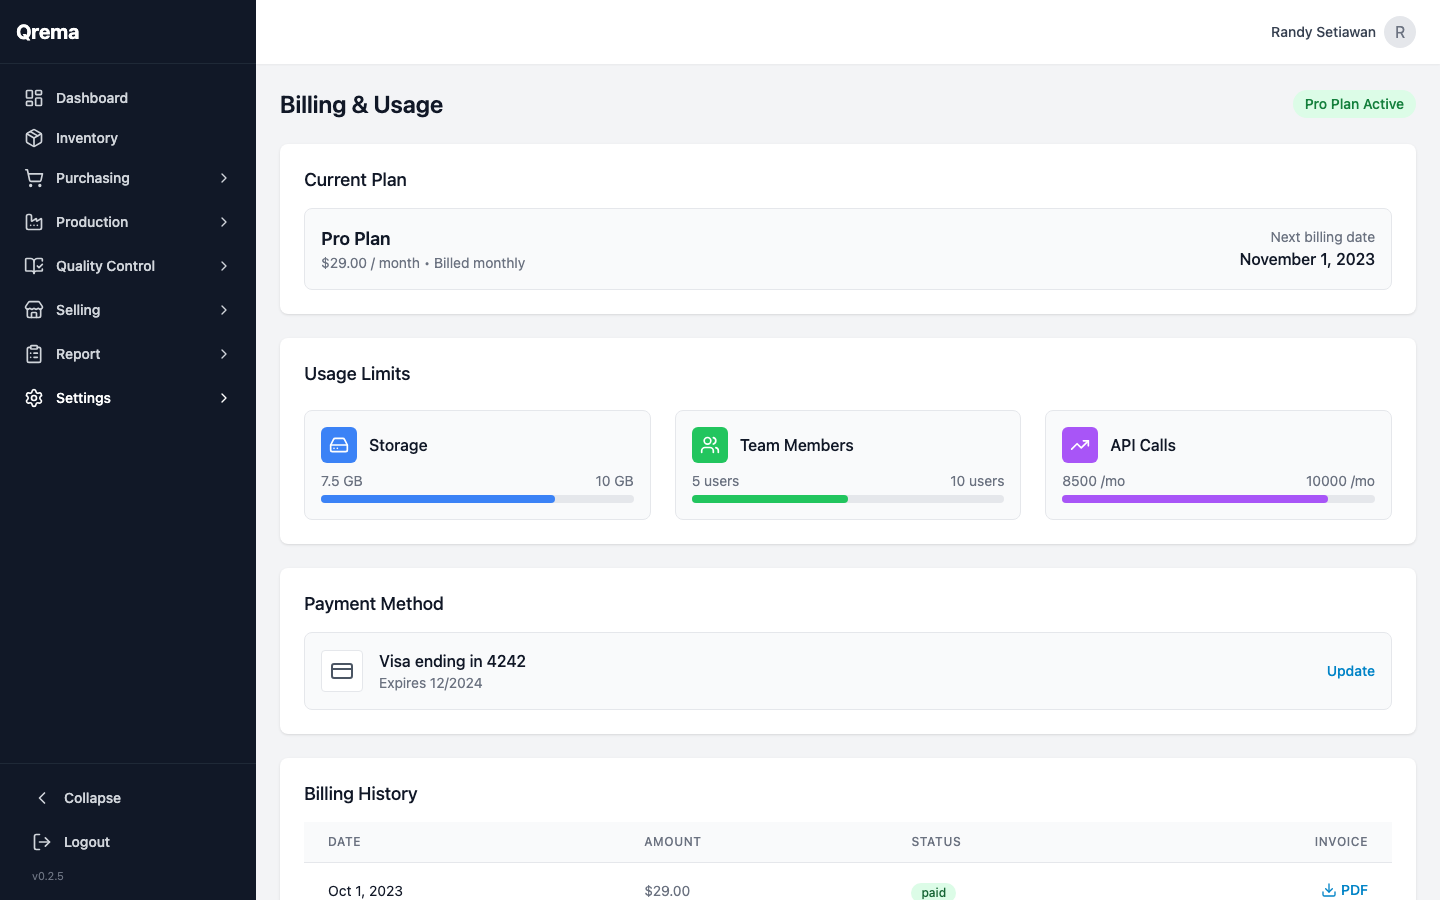
Billing Information
- Current Plan -- Your active subscription tier
- Usage -- Number of team members, storage used, API calls
- Billing Cycle -- Monthly or annual billing period
- Payment Method -- Credit card or other payment method on file
- Invoice History -- Download past invoices
Video Walkthrough
Settings -- configuring your workspace, managing team members, and reviewing billing